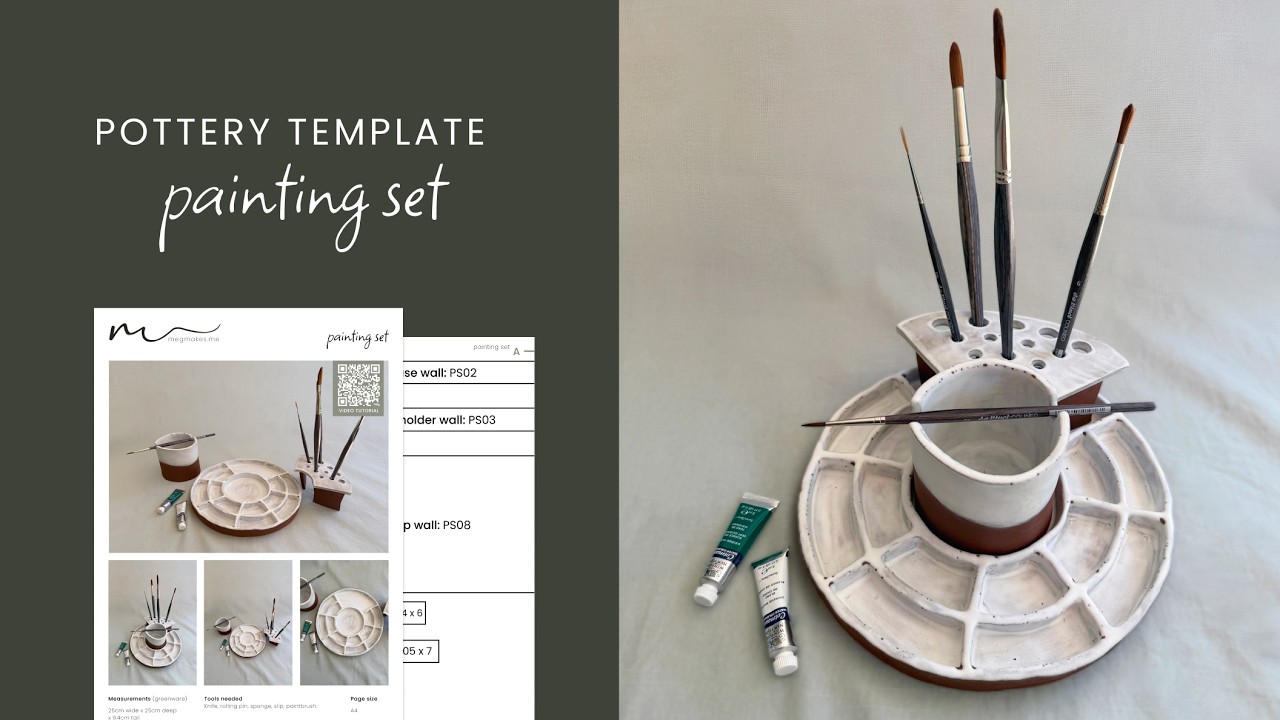
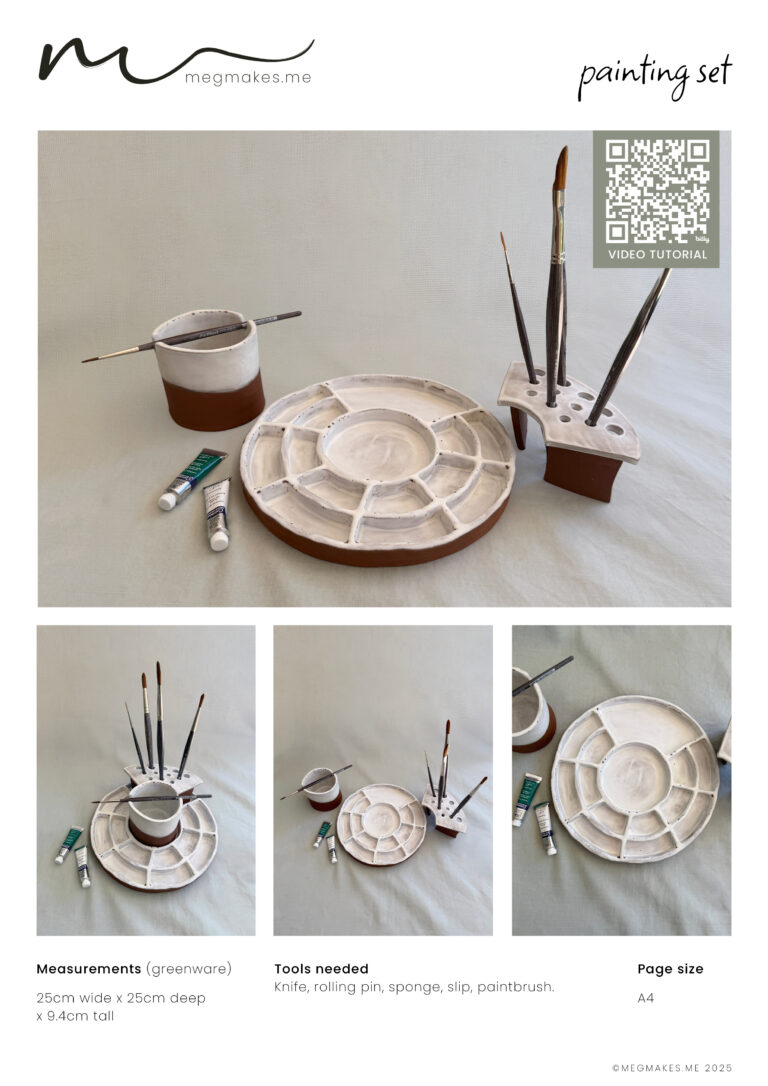
Everything you need for a paint session, made by hand. The set includes a mixing palette, a water cup with a paintbrush rest, and a brush stand. The cup and stand nestle inside the palette to save space, or sit alongside it when you want more room to mix.
- Finished size (greenware)
- 25 × 25 × 9.4 cm
Roll a slab, cut the pieces from the printed template, then join and smooth. Every step is photographed and captioned, and the video tutorial walks the whole build if you get stuck.
Print the PDF at 100% on A4 or US Letter - the pieces are scaled true to size.
- Skill level
- Beginner · slab
- Tools
- Knife, rolling pin, sponge, slip and paintbrush
- Recommended clay
- A clay that fires non-porous - mid-fire or stoneware - so paint and water wipe clean.
- Recommended glaze
- A white or pale glaze on the mixing surfaces so your paint colours read true, matched to your clay's firing range. It does not need to be food safe, but it does need to be non-porous so it wipes clean.
Two minutes - A4 or US Letter, printed at 100%.
Print-ready PDF
A4 and US Letter, scaled true to size - print, cut, and you're rolling slabs.
Photo instructions
Every step shot and captioned, so you can work at your own pace.
The video tutorial
The full build on YouTube, yours to rewatch whenever you get stuck.
- Delivery
- Instant download · lifetime access
From download to finished piece.
Download the template
Your template is yours the moment you check out, ready to print on A4 or US Letter. The photo guide and step-by-step video come with it, so everything's in one place.
Print and cut
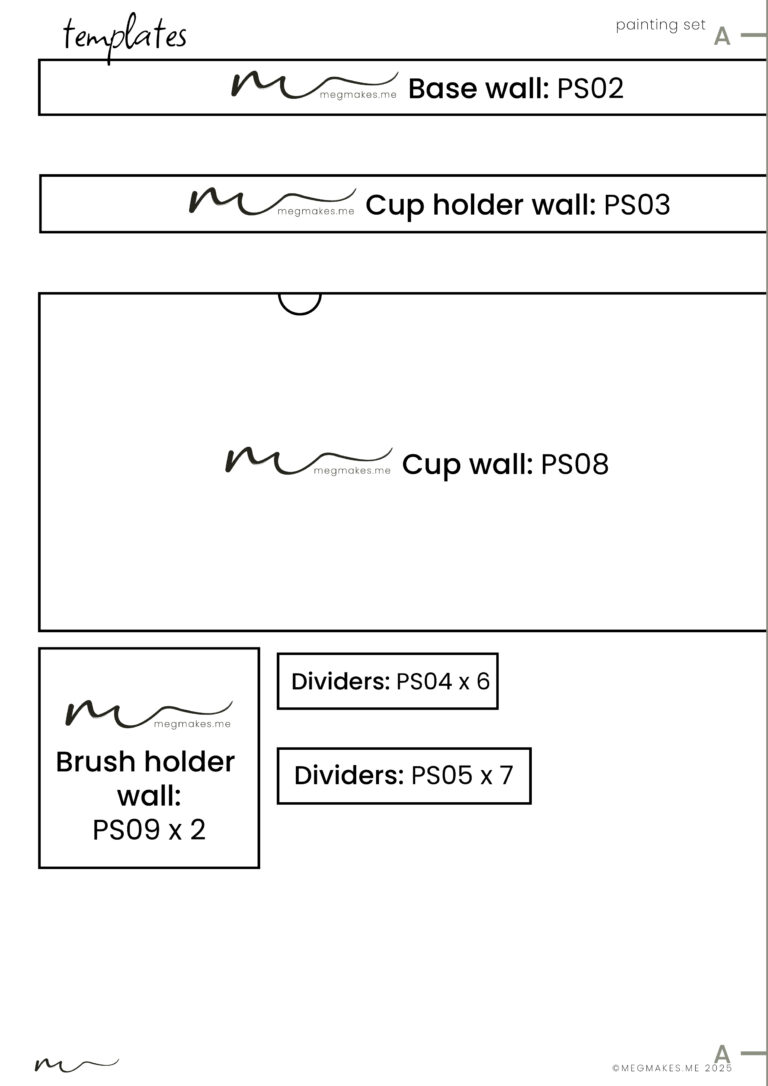
Print the pages you need at 100% (not "fit to page"), then cut along the marked lines. If a piece is split across two pages, tape them together where shown.
Cut your clay
Roll a slab to an even thickness, lay your paper pieces on top and cut around them with a knife or needle tool.
Score, slip and join
Score and slip every edge that meets another, press the pieces together, then work each seam until it holds on its own. No rushing this one.
Smooth and decorate
Sponge your edges and seams smooth. Then comes the fun bit: add texture, stamps or carving while the clay is leather-hard.
Dry and bisque fire
Let it dry slowly and evenly, then bisque fire once it's bone dry. No kiln at home? Most local pottery studios will fire your pieces for a small fee.
Glaze and glaze fire
Glaze it however you like, keeping the base clean, then fire to the temperature your clay and glaze call for.
Made by you
One finished piece, made with your own hands. Keep the template and make another whenever the mood strikes. I'd love to see it too, so tag @megmakes.me.
The whole build,
start to finish.
Every step of the painting set, start to finish. Let it run, or scrub to the part you need.